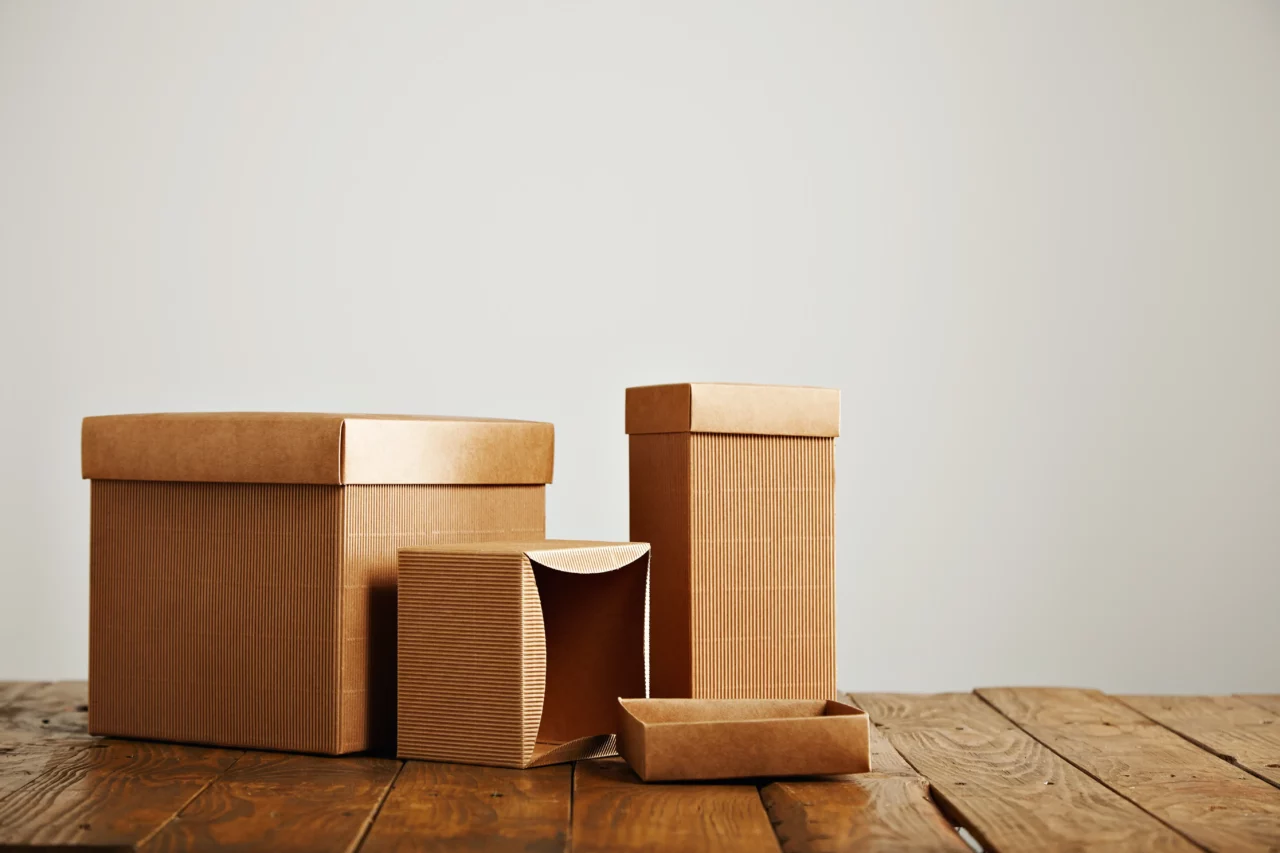
Custom boxes are like a blank canvas waiting to be transformed into something extraordinary. It’s like having a tailor-made suit for your merchandise. Custom boxes are more than just pretty packaging; they serve multiple purposes as well. Apart from protecting your products during transit, they act as powerful marketing tools that help create an unforgettable unboxing experience for customers. With eye-catching designs and personalized branding elements, these boxes make a strong statement about your brand’s quality and attention to detail.
In our last few blogs, we spoke about the various types of corrugated boxes and curated a complete guide to understanding these sturdy boxes. In this article, we will take you through each step of the manufacturing process, from materials selection to final assembly.
Process Of Designing Custom Printed Boxes
Step 1: Choosing Materials For The Custom Corrugated Box
The first crucial step in creating custom-printed corrugated boxes is selecting the right materials, which are linerboard and medium.
The linerboard made from virgin or recycled paper fibres forms the outer layers of the box, providing strength and stability. The linerboard is then glued together to create a solid sheet. The quality and thickness of the linerboard can vary depending on the specific requirements of the packaging project.
The medium, also known as fluting, is sandwiched between the layers of linerboard to give a distinctive wavy appearance. Mediums come in different flute profiles, such as A, B, C, E, and F, each offering varying levels of strength and cushioning properties. Factors like weight capacity, moisture resistance, and environmental sustainability play a role when selecting materials for custom boxes.
Step 2: Preparing The Cardboard Material For Printing
Printing is a crucial step in the process of creating custom-printed corrugated boxes. It is where the design and branding come to life on the surface of the box. The printing process begins with designing the artwork that goes onto the cardboard board.
Digital printing and flexography are used to get high-quality printing on the box. Flexographic printing involves using flexible rubber plates to transfer ink onto the corrugated board rapidly. On the other hand, digital printing utilizes advanced printers that directly apply ink onto the surface of each box, allowing for intricate designs and vibrant colours.
In order to get a unique design, each sheet of corrugated board is sent into the printer one by one. After printing, it’s essential to let the boxes dry completely before moving on to further processing steps. This ensures that there won’t be any smudging or damage during subsequent production stages.
Step 3: Cutting The Custom-Printed Cardboard Box
Cutting is a crucial step in the process of making custom corrugated boxes. In this cutting stage, custom boxes take shape to become desired shapes and sizes. To ensure precision and accuracy, plants use specialized cutting machines. These machines have sharp blades for cutting thick layers of corrugated cardboard.
Step 4: Adding The Final Touches For A Polished Look
When it comes to creating custom-printed corrugated boxes, finishing is an important step in the production process. One of the key aspects of finishing is adding coatings or laminates to enhance the appearance and durability of the boxes. These can include gloss or matte finishes, which not only protect the print but also give a polished look to the packaging.
Foil stamping with gold, silver, or other metallic colours can make your custom-printed corrugated boxes stand out from competitors’ plain cardboard options.
Step 5: Assembling The Custom Corrugated Box
Assembly is the final step in the process of creating custom-printed corrugated boxes. Once all the printing, cutting, and finishing steps are complete, it’s time to bring everything together and assemble the box.
During assembly, skilled workers carefully fold and glue the flat sheets of corrugated board into their desired box shape. The precision and attention to detail in this step are crucial to ensure that each box is sturdy and secure. The adhesive used during assembly plays a significant role in holding the box together. It must be strong enough to withstand handling and transportation but also safe for use with food products if necessary.
Step 6: Testing The Box For Quality Standards
Once the boxes have gone through the assembly process, it is crucial to ensure that they meet all quality standards. This is where testing plays a vital role in ensuring the durability and performance of these boxes.
Custom corrugated boxes go through various tests to evaluate strength, stacking capability, and resistance to environmental factors. One common test is the edge crush test (ECT), which determines the pressure a box can withstand without collapsing.
Another important test is the burst strength test, which measures how much force a box can handle before bursting open. This test helps assess the reliability of these boxes during transportation and handling.
Additionally, other tests may include humidity resistance testing to check if they can withstand moisture exposure and temperature change during storage or transit.
Conclusion
Designing custom boxes is an essential process for businesses looking to make a lasting impression on their customers. By creating unique and eye-catching packaging, you can enhance your brand’s visibility, increase product appeal, and ultimately boost sales. Custom boxes offer numerous benefits, including increased brand recognition, improved product protection, and enhanced customer experience.
Similarly, at Xetgo, we don’t just understand packaging; we understand your vision. Our dedicated team is here to partner with you in creating custom packaging solutions that align perfectly with your brand’s ethos. Get in touch with our team to bring your ideas to life and make them into their finest versions.


